

Printing and hardware
TiendaPoint of sale
Tienda runs in the browser, so the back office, including the New Order form for counter sales, opens on any computer, tablet or phone. For printing receipts, work orders and labels on the shop’s printers, the shop needs a hub: a small program on a computer in the shop that drives the printers.
What you can connect
Section titled “What you can connect”| Device | How | Used for |
|---|---|---|
| Receipt printer (thermal, 80 mm or 58 mm paper, ESC/POS) | USB or network, through the hub | Receipts, work orders |
| Label printer (Brother QL, for example QL-820NWB) | USB or network, through the hub | Price labels, one label per product line |
| A4 printer | Through the hub | Documents |
| Barcode scanner | USB or Bluetooth, set up as a keyboard | Adding products on the New Order form: scan into Scan Product |
| Camera of a phone or tablet | In the browser | Scanning tickets at the door (see Events) |
| Cash drawer (the physical drawer) | Not available yet: Tienda does not open it | Tienda only keeps a count of the cash (see Cash drawers) |
There is no card terminal link: take card payments on your own terminal and choose the card payment method on the New Order form.
Without a hub, receipts open in the browser and print on any printer the computer knows.
- Install the hub on a computer in the shop that the printers are connected to. Ask us for the hub and its token.
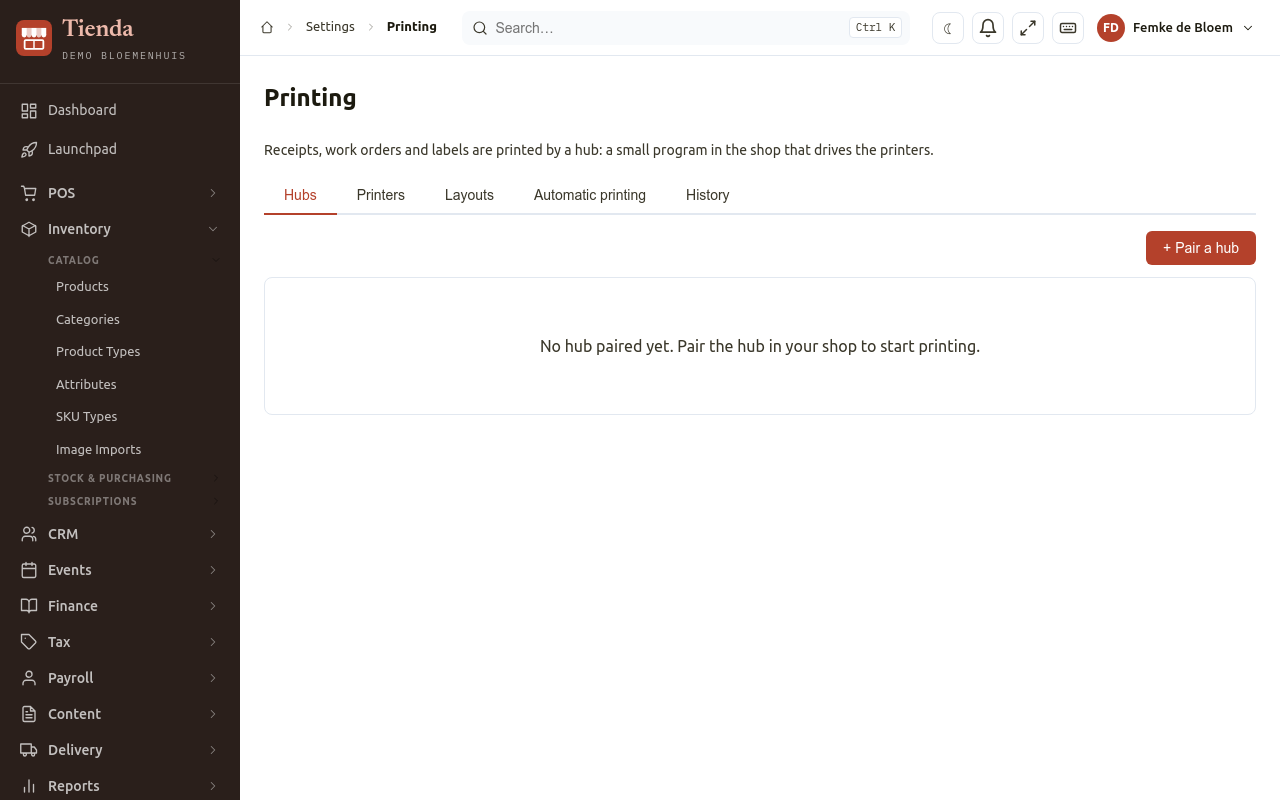
- In Tienda, open Settings, Printing, and choose Pair a hub: a name you
recognise (for example “Counter”), the Address the hub program shows (for
example
http://192.168.1.20:8080) and the Token set on the hub. Save. - Test connection checks that Tienda reaches the hub.
- Discover printers lists the printers the hub sees.
Settings, Hubs (under Integrations) shows each hub with its status, the last command and a log, and lets you send a command to it, for troubleshooting with us.
Printers
Section titled “Printers”Under Printers, each printer has a Type (Receipt printer, Label printer or A4 printer) and Used for: tick what each printer prints. Each job goes to one printer. Test print prints a test page.
Look for new devices shows devices the hub sees that are not set up yet; add them with their Model.
Printing automatically
Section titled “Printing automatically”Choose Usual set-up to print the receipt when an order is paid and the work order when an order is placed. Or make your own rules (New rule): When (an order gets a Status), Print (receipt, work order, labels) and the number of Copies.
Orders that come in from the POS are never printed automatically: the POS has already printed them.
The print log shows what was printed, when, by whom and the result; Print again repeats a job.
Layouts
Section titled “Layouts”Tienda has built-in layouts for the receipt, the work order and the label. New layout makes your own, with a Width (characters per line: 48 for 80 mm paper, 32 for 58 mm) and your own text. You can use:
# Heading,## Bold line,---for a line,**bold**;[align=center],[barcode]...[/barcode],[qr]...[/qr],[cut];[each=order_lines]...[/each]to repeat per order line.
Preview shows the layout with the latest order or product.